
Gates are always needed to finish off any fence or enclosed area. The type of gate you build will depend on what is being enclosed–for example a garden–and your personal preferences. This DIY guide will show you, step by step, how to build a z-frame garden gate.
Materials
- Lumber
- Screws
- Nails
- Latch
- Hinges
- Gravel
- Concrete mix
- Shims
Tools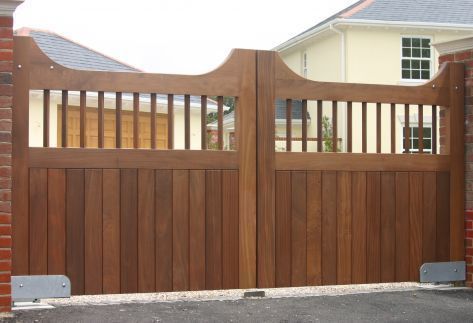
- Hammer
- Paper
- Pencil
- Saw
- Screw driver
- Square
- Level
- Posthole digger
Instructions
- Create a drawing of your gate design, including all the appropriate dimensions. When making the design, consider the dimensions of the surrounding fence and ensure the materials chosen for the gate will match or compliment the fence.
- Buy wood for the latch posts and the hinge; make sure the dimension is 4×4”. 2×4” and 1×2” boards should be bought for the frame and the pickets respectively. Remember though, that the lumber size will depend on the gate design you’ve created and chosen.
- Buy a latch and hinges that will fit in seamlessly with the gate’s appearance. Also, buy nails and screws that are suitable for fitting the gate’s pieces together.
- Dig postholes approximately 3 feet deep with a posthole digger. Then insert the hinge and latch posts onto the packed gravel; fill the hole with concrete mix or earth.
- To install the horizontal supports, first cut out the horizontal sections to fit the gateway and attach them to the hinges using drywall screws; use permanent screws to affix the hinges to the hinge post.
- For the installation of the diagonal supports, determine the dimensions of the diagonal support beam; ensure you have precise measurements then cut it out. Drill pilot holes and with long screws, affix the diagonal support to the horizontal supports.
- Using a square, mark the spots where the pickets will be mounted at even distances. Fit the pickets to the gate structure using at least two nails or screws at the bottom of each picket.
- Remove the gate and cut away excess wood from the horizontal portions. Remount it and screw on the latch. Open and close the gate to test it.
Tips and warnings
- Paint the gate if it is to your liking, or if your fence is painted. You can paint separate pieces before fitting them together, or you can paint the assembled gate. Use no-lead, non-toxic wood paint that will not succumb to harsh weather. Also remember that gates experience constant friction, so use a paint that can withstand this for a reasonable amount of time.
- If you don’t want to paint your gate, a wood stain is also a viable option.
- Wear protective gears while working with sharp tools, or when painting.
- Remember to check the direction you want the gate to swing before attaching the posts